


Elasticsearch安装
参考链接:https://blog.csdn.net/m0_51510236/article/details/120829135
1、centos安装java
1.查看yum库中的java安装包
yum -y list java*
2.安装
yum -y install java-1.8.0-openjdk
3.配置环境变量
vim /etc/profile
向文件里面追加以下内容
#set java environment
JAVA_HOME=/usr/java/jdk1.8.0_152
JRE_HOME=$JAVA_HOME/jre
PATH=$PATH:$JAVA_HOME/bin:$JRE_HOME/bin
CLASSPATH=.:$JAVA_HOME/lib/dt.jar:$JAVA_HOME/lib/tools.jar:$JRE_HOME/lib
export JAVA_HOME JRE_HOME PATH CLASSPATH
2、下载安装es
官网下载:https://www.elastic.co/cn/downloads/past-releases#elasticsearch
安装步骤
1.创建安装目录(可依照个人使用习惯更改):
mkdir /opt/server
2.解压elasticsearch安装包到这个目录
tar -zxvf elasticsearch-7.14.2-linux-x86_64.tar.gz -C /opt/server
3.修改 config/jvm.options 文件,修改内存大小,可根据物理机实际配置修改(配置可参考文档https://blog.csdn.net/m0_51510236/article/details/113738338):
-Xms256m
-Xmx256m
-Xmn128m
修改 config/elasticsearch.yml 文件,修改配置(0.0.0.0 为所有IP均可访问):
#
# ---------------------------------- Cluster -----------------------------------
#
# Use a descriptive name for your cluster:
#
cluster.name: my-application
#
# ------------------------------------ Node ------------------------------------
#
# Use a descriptive name for the node:
#
node.name: node-1
#
# Add custom attributes to the node:
#
#node.attr.rack: r1
# ---------------------------------- Network -----------------------------------
#
# By default Elasticsearch is only accessible on localhost. Set a different
# address here to expose this node on the network:
#
network.host: 0.0.0.0
#
# By default Elasticsearch listens for HTTP traffic on the first free port it
# finds starting at 9200. Set a specific HTTP port here:
#
http.port: 9200
#
# For more information, consult the network module documentation.
#
# --------------------------------- Discovery ----------------------------------
#
# Pass an initial list of hosts to perform discovery when this node is started:
# The default list of hosts is ["127.0.0.1", "[::1]"]
#
discovery.seed_hosts: ["0.0.0.0"]
#
# Bootstrap the cluster using an initial set of master-eligible nodes:
#
cluster.initial_master_nodes: ["node-1"]
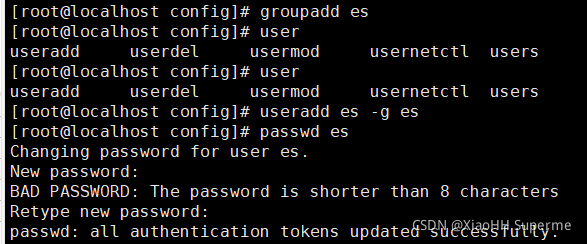
因为ElasticSearch不允许root用户启动,所以创建一个es用户:
groupadd es
useradd es -g es
passwd es
chown es:es -R elasticsearch-7.14.2
4.修改系统配置文件:
vim /etc/security/limits.conf
# 添加已下内容
es hard nofile 65536
es soft nofile 65536

vim /etc/sysctl.conf
# 添加以下内容
vm.max_map_count=655360

# 打印并生效
sysctl -p
5.切换到es用户并启动elasticsearch:
su es
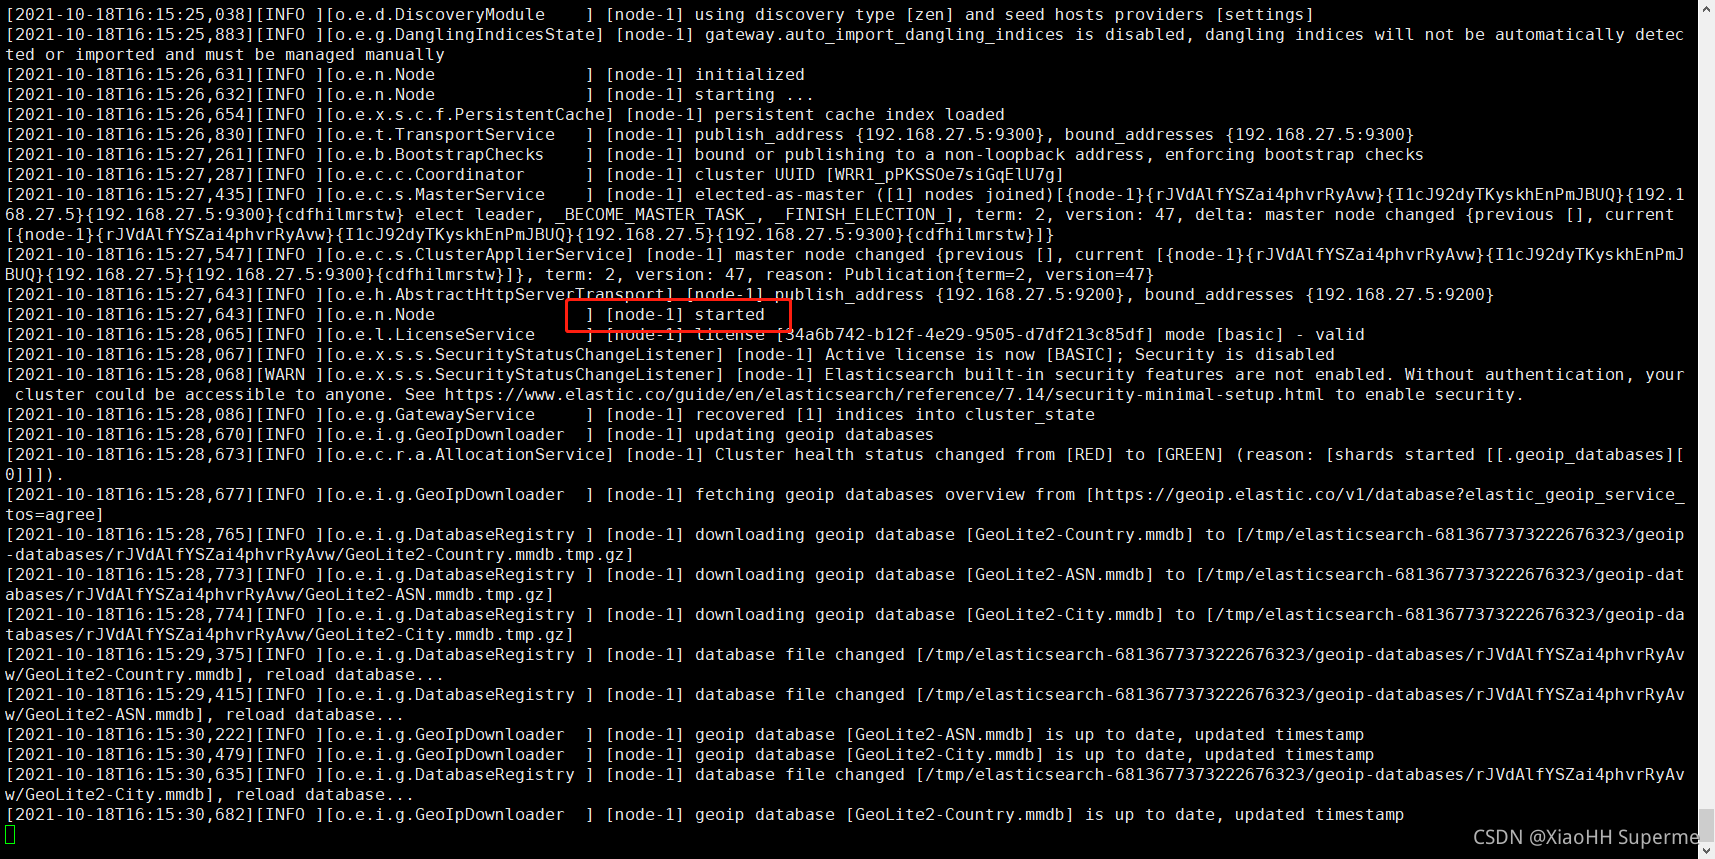
./bin/elasticsearch
看到这个代表启动成功:
访问elasticsearch主机的 9200 端口:
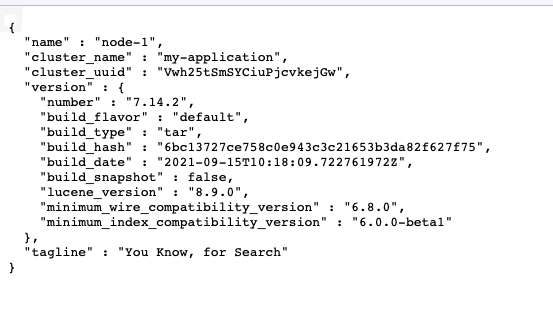
3、elasticsearch安装成功
1.安装ik分词器
ik分词器的作用为:”为中文搜索提供词汇支持“,所以建议安装,在elasticsearch的 plugins 目录下创建文件夹 ik,然后将之前下载的分词器的压缩包解压到该目录中:
mkdir ik
cd ik/
yum install -y unzip
unzip /usr/local/src/elasticsearch-analysis-ik-7.14.2.zip
然后从新启动elasticsearch即可
评论区